
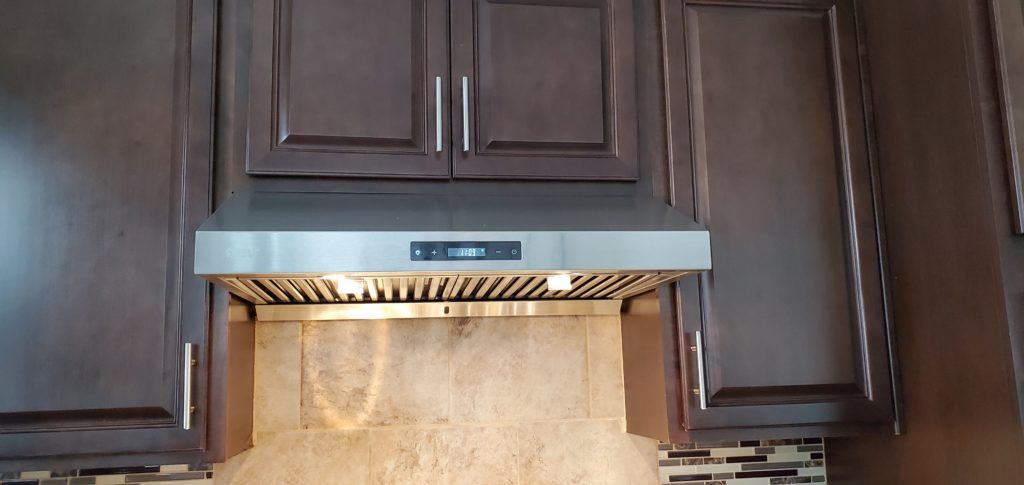
In part one we saw about the reasons why we decided to change the microwave range hood with a standalone, powerful range hood with LED lights. We also looked at how to remove the existing microwave and also the car jack approach to easily and safely remove the Microwave Range hood and clean all the surroundings before installing the new hood. In this post, we are going to see how the new hood was installed and its final look.
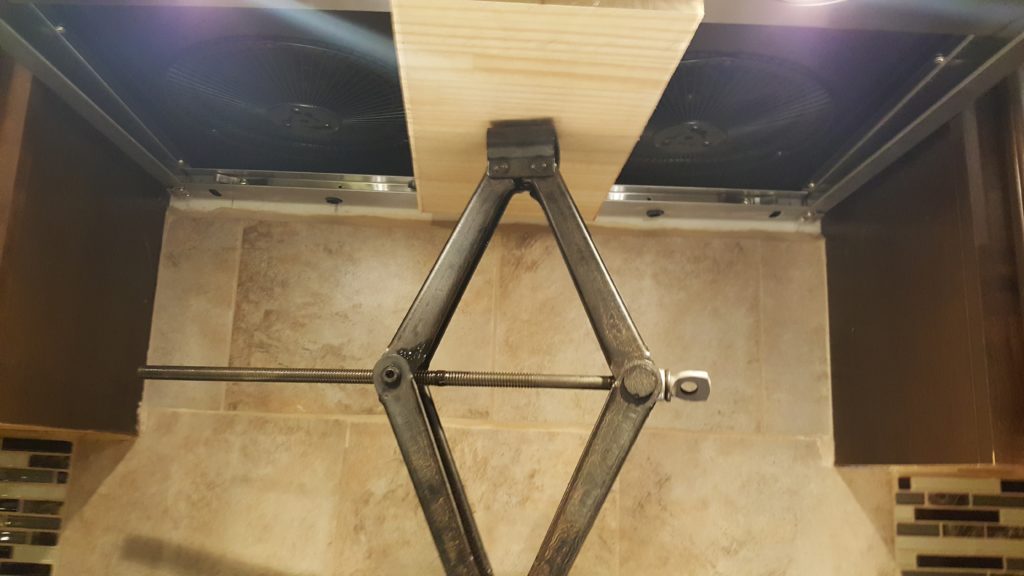
As described earlier, I used multiple items to create a setup that would allow me to single handedly install a new Range hood. I used a Cabinet door, raised platform, car jack and a thick wood panel to balance and hold the rang hood in place while positioning it to align with holes in the upper cabinet and to connect to the vent pipe in the back.

Backsplash considerations
Since I had installed back splash around the kitchen, I had to use some more of the same tiles and back splash materials to properly fill the large space behind the old microwave. In the above picture the second set of beige tiles were installed just before the new range hood was about to be installed.
Mounting the new Range hood
The mounting holes of the new unit were right on the edges and I was not comfortable mounting the unit directly with a a small hole in kitchen cabinets above. Instead I used longer screw heads with bolts and used a metal hole adapter to mount the hood. They are both in the picture below. This way I was sure the weight of the hood is not on only 4 small holes on the edges of the cabinet, but rather spread a little bit.

Again all the extra parts were things I had left over from other projects. Also these took a bit of pre-planning. I checked out all the available parts that came with the range hood and also improvised on few things to install as securely as possible.
Raising the unit
Once the new unit was checked and verified, I removed the metal grates and I carefully placed the unit on my setup and balanced it on the plywood. I was careful to not put pressure on any delicate parts of the range and adjusted to that the wood touches the rim on both sides of the range to balance it evenly.
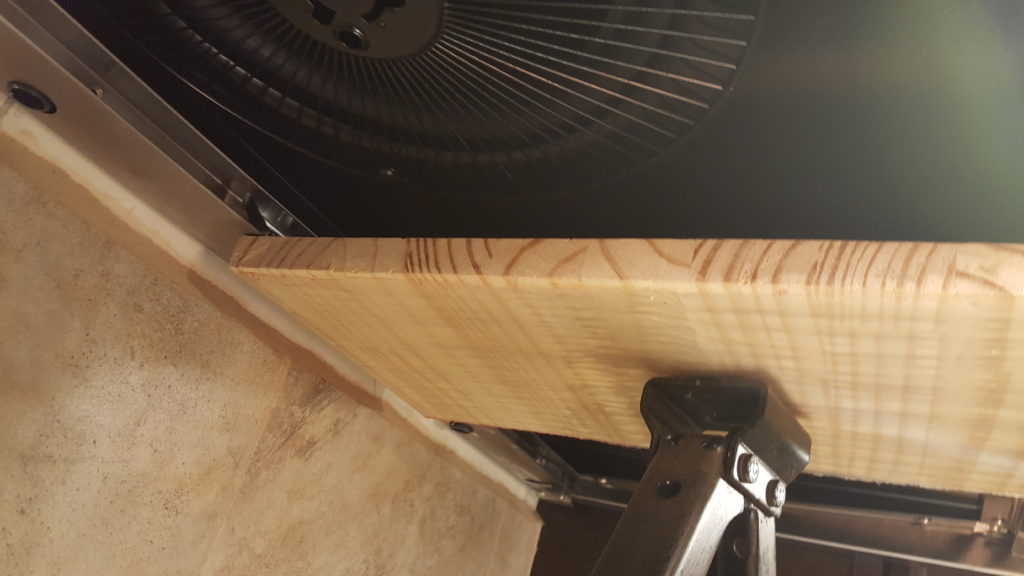
As shown in the first picture, I slowly raised the range hood into position and connected the power supply first. Then I connected the vent in the back and adjusted it to fit securely in the vent opening in the back wall. Once that was done, I tested the unit again to ensure there was proper suction and air flow. I used a kitchen towel to check suction power of the vent. I also went outside my home and checked the force of the air at the outside vent. It seemed to be much higher than before.
Once the screws and bolts are in position, they were tightened so that range hood does not vibrate when at full power. I switched on the range at full power and then double checked the mounting screws and tightened them were necessary. I also used double bolts on each mounting screw.
Final check and cleanup
Once you are comfortable with the operation and checked all connections, slowly lower the car jack and the panel. The Range hood should be stable and firm if you slightly pull or push on the sides of the hood. Install the metal grates and completely remove all the accessories used to lower and raise the units.
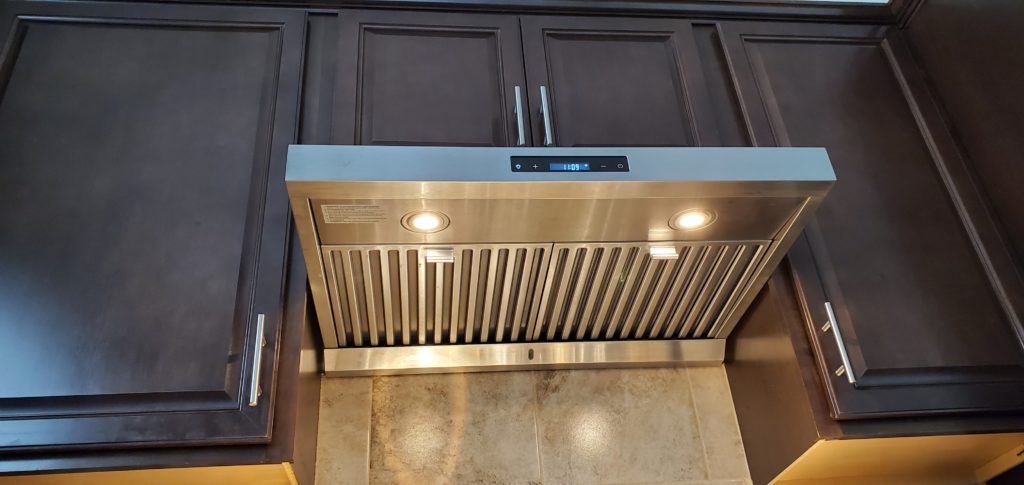
We have been using this hood almost daily, as we cook a lot at home. This also has a nifty reminder feature were it tells you its time to wash the metal grates. While washing the grates, I also spray a little kitchen stove cleaner on a paper towel and wipe clean the insides of the unit, fan grill and around the edges.
I hope this helps with installing your own range hood for more efficient kitchen exhaust. All in all, it was a one day job. With some planning, it was fairly easy to securely install the unit and use it.