
Yeah. This is not a recipe, but a major update I did for my kitchen to add more functionality and solve a puzzling problem. After about a year of using over the stove microwave with exhaust fan, I switched to a proper, powerful, standalone kitchen range hood.
When we built our house, we opted to add venting from kitchen to outside. With the standard over the range microwave and hood, we noticed that it makes a lot of sound, but does not seem to vent cooking smells outside. I cook a lot at home and many times noticed that cooking smells linger for a while. I run the range exhaust fan for a while during and after cooking and it did not seem to work as we expected.
Why a new Range hood
After sometime we figured out it was the range hood with limited fan power that is not actually suited to function as a proper exhaust from the kitchen. It felt way under powered and one day we started noticing light brown stains inside the microwave.
That was the last straw and I immediately started looking for replacement hood. We decided to go with an range hood with vent in the back and powerful lights. We also decided to get a separate table top microwave, as we had some space over the counters. This also meant we can get a bigger hood with more coverage over the stove and the range hood would be only for exhausting cooking smoke outside the kitchen.
Selected Unit
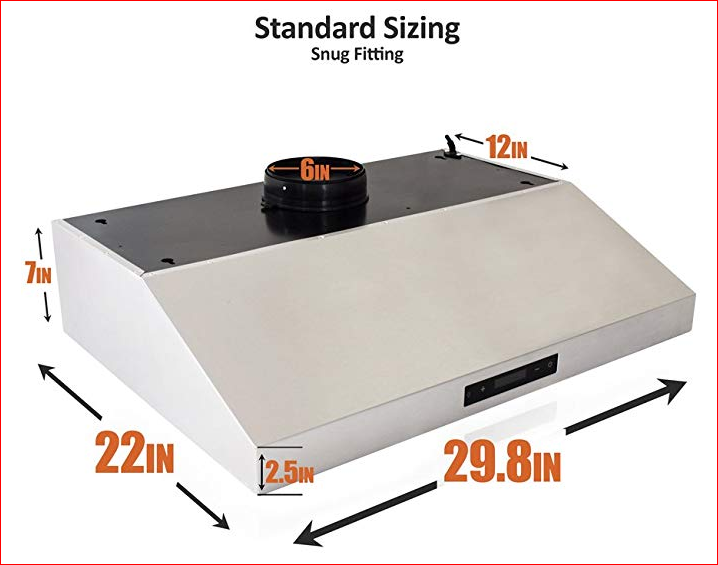
After checking online for a good quality range hood with powerful fans and exhaust capability, we settled for BV Range Hood – 30 Inch 860 CFM Touch Screen Under Cabinet Stainless Steel Kitchen Range Hoods, Dishwasher Safe Baffle Filters w/LED Lights, 3 Way Installation, Ducted Kitchen Exhaust Fan Hood from Amazon.com. This model had dual fans, back or top venting capability and LED lights with touch control for fan speed, on/off and lights.
This particular model also has metal grates that are far more capable of holding back oil residue and is easy to clean using a dishwasher cycle. The model dimensions are below and this would fit any standard 30 inch range hood space above a stove, in between cabinets.
Requirements
There are lots of models and options available for external venting range hoods. I had 3 main requirements.
- Easy to clean filters
- Great exhaust capability
- Bright lights
The unit we selected met all the conditions and it was a fairly reasonable price too. When I bought this it was about $300 including taxes and shipping. Once the unit arrived, I removed all packaging and completely checked it for any potential shipping damage. After unpacking I tested the unit and ensured all the features are fully functional.
You have to also check if the current unit is vented in the back or from top. Buying a new unit as described above gives you options to install to suit multiple situations. Since the existing microwave had back vents it was easy to replace with the new range hood.
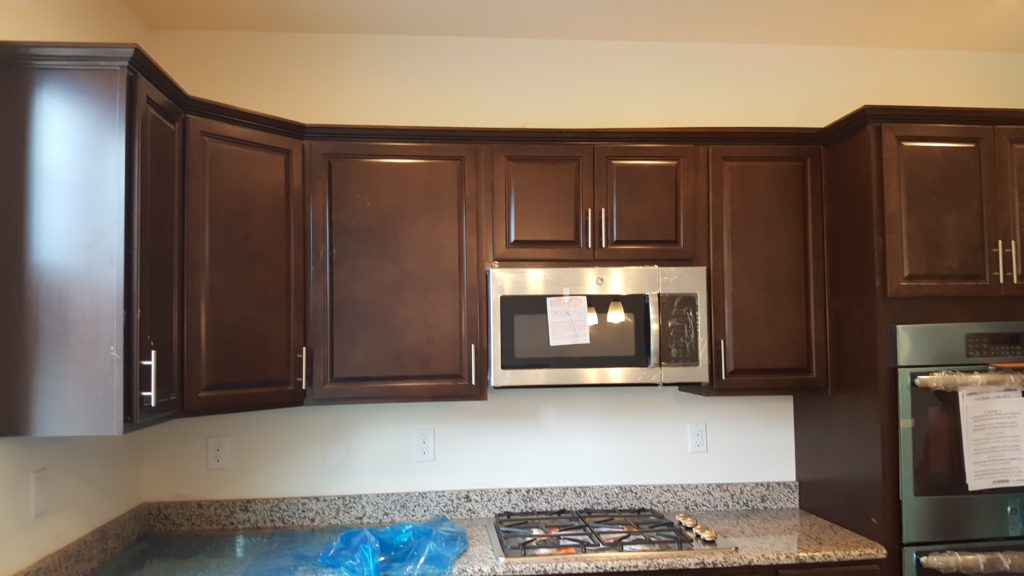
Removing microwave over the stove
First I had to remove the existing microwave over the range and keep it aside. The steps are below.
- Unplug the power cable, normally in the cabinet on the top of the microwave
- Add support to hold the microwave unit over the stove. This is the most crucial step. More than 2 people are required to help with this as the unit is pretty heavy and holding it up is not easy. The installation section below has more information on the custom setup used to raise and lower the units from the mount point.
- Unscrew from the inside the cabinet floor, right above the microwave. Based on how it was secured, unscrew from top and ensure the unit is completely balanced and held from below. There should be four screws or bolts, one is each corner inside the cabinet and all of them have to be removed.
- Remove all the screws and slowly lower the jack to bring the microwave/hood down. Check and remove the wiring and any other connections to the out side venting pipes in the back or the top of the unit.
- Disconnect all connections and vents and slowly lower the car jack and completely remove the unit.
Once the old unit is removed, clean it completely, inside and outside and either store it for future use or sell it or donate. Your choice.
Installation
I installed the unit myself in about 2 hours. I used the same car jack and wood setup to position and slowly raise the new range hood into position, connect to the outside vent in the back and all wiring and even test before using bolts to secure everything.

As mentioned earlier, I used the same setup to remove the microwave range hood. I used a wooden door panel, setup cabinet, carjack and ply wood that you see in the image above as all were remnants of other projects that were done earlier. You may be able to find wooden boxes or other panels that you could use to achieve the necessary height where required.
That is the end of part one. Lets look at the completed setup in part 2.